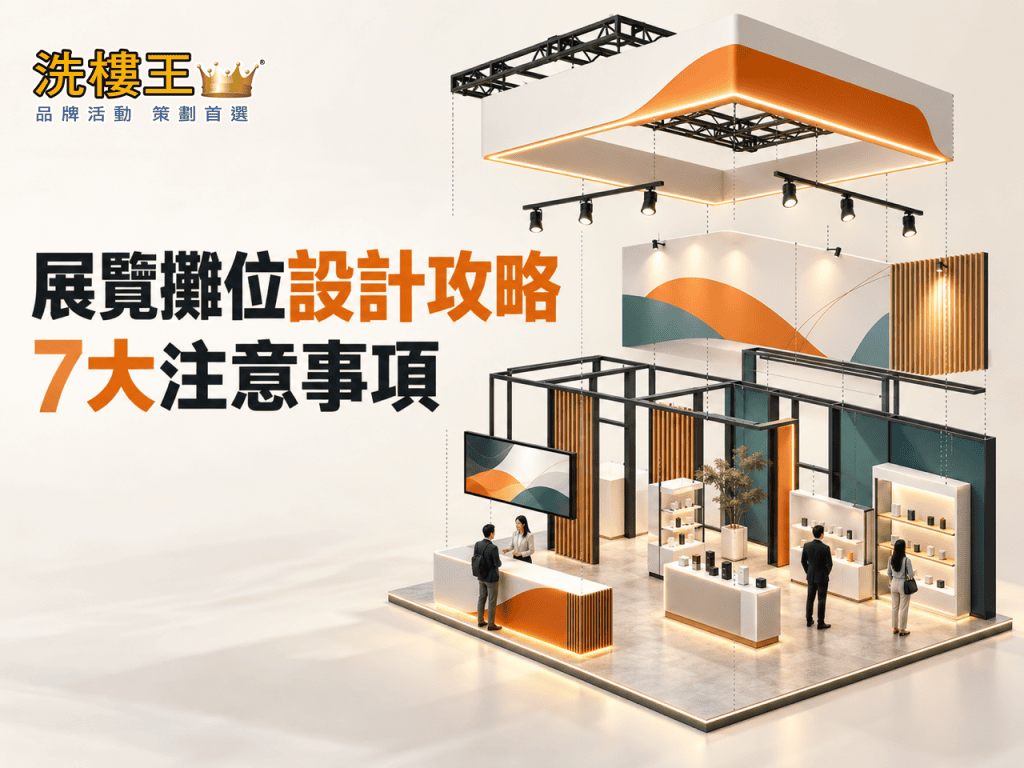
When clients review a booth render, they usually notice the colours first, and whether the logo stands out. But a good exhibition booth design has to work well beyond the render. Can visitors recognise your brand from across the hall? Where do they enter, queue and leave? Where do staff stand, and where are gifts and products kept? Does the design meet venue rules, and can it be built on time?
Good booth design balances brand visuals with how the space is actually used. Below are seven booth design tips for Hong Kong exhibitions, plus a checklist to confirm before you sign off the design.
This guide focuses on the details of booth design. If you are still planning your overall exhibition participation, such as which fair to join, how to allocate your budget, or choosing between a standard booth and a custom-built (raw space) booth, start with our Hong Kong Exhibition Participation Guide 2026, then return here to review the design points.
01|Make your brand recognisable from a distance
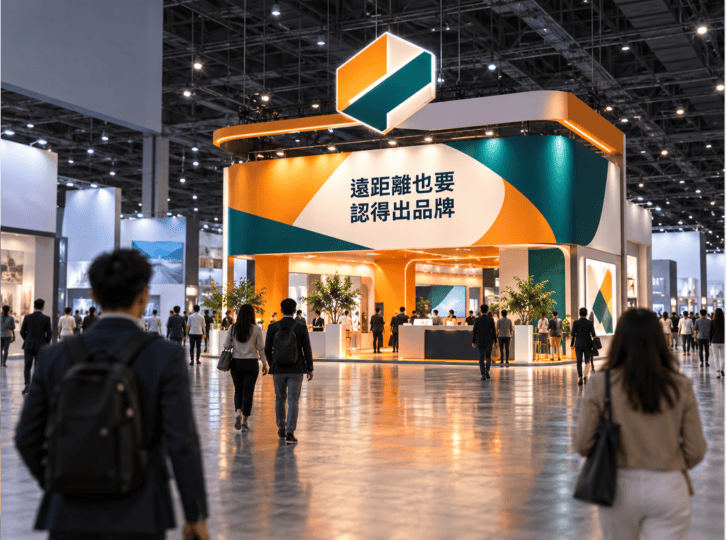
Exhibition halls are full of booths, lighting, posters and crowds. Visitors walking along an aisle often have only a few seconds to decide whether to come closer. The first layer of your design should therefore focus on brand visibility. Check these points:
- Logo position and height
- Key visual and brand colours
- Main headline
- High-level display
- Lighting
- Recognisability from a distance
A render that looks clear on a computer screen can look very different several metres away on the show floor. Review your design from both close up and far away, so visitors can identify your brand quickly from any position.
A simple test: shrink the render to phone size, or print it and step back a few metres. Are the logo and headline still clear?
02|Layer your information: decide what visitors should see first
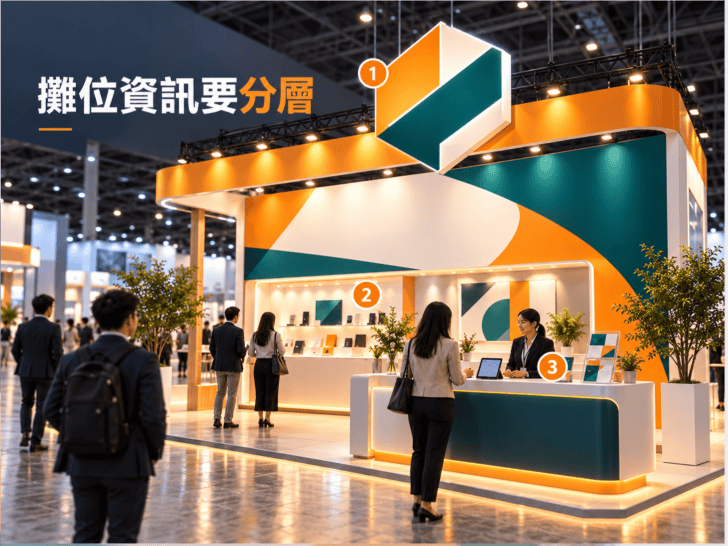
A booth is not a company brochure. Visitors first need to know who you are and why it is worth coming closer. Divide your information into three layers:
| Layer | Where the visitor is | Content |
| Layer 1 | From a distance | Brand, logo, campaign visual |
| Layer 2 | Approaching the booth | Products or services, core message |
| Layer 3 | After they stop | Product details, QR code, activity rules, offers, registration information |
You do not need to fit everything onto one backwall. Layer 3 can sit on the counter, display stands, screens or behind a QR code. This keeps the layout cleaner and reduces printed materials.
03|Visitor flow: plan how people move through the booth
Visitor flow is about movement: where people come from, where they go, and where they stop. For an interactive booth, the basic path might be:
Pass by → Approach → Enter → Stay → Leave
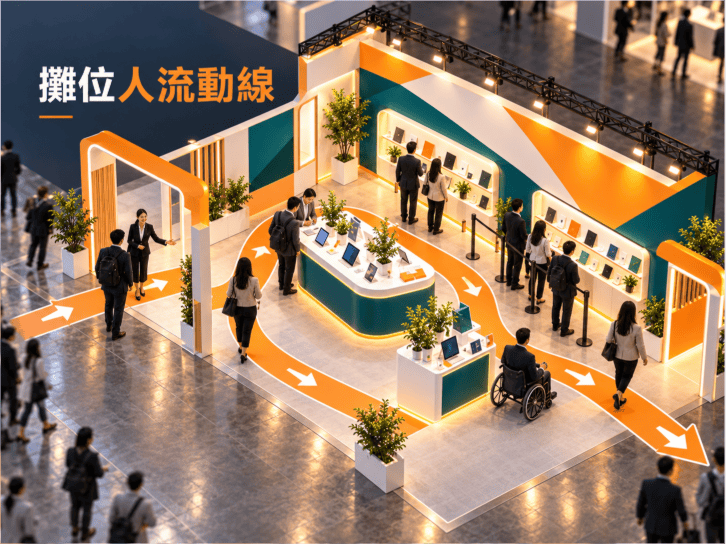
Review the design against these points:
- Separate entrance and exit. One shared opening often causes crowding and head-on collisions.
- Queuing buffer. Let queues extend into the booth or a reserved buffer area, so they do not block the aisle or neighbouring booths.
- Avoid crossing paths. For example, registration and gift-redemption traffic should not intersect. Aim for one-way movement where possible.
- Peak-hour crowds. Plan for the busiest moment, such as opening day or peak hours, not an average day.
- Greeter position. Where your event promoters stand, at the entrance or by the aisle, affects whether visitors approach, and helps manage the crowd.
- Accessibility. Leave enough width for wheelchairs and strollers.
Drawing visitor-flow arrows on a floor plan often reveals problems faster than a 3D render. This is why Flyer King plans event planning and on-site management together.
04|Space planning: give every inch a purpose
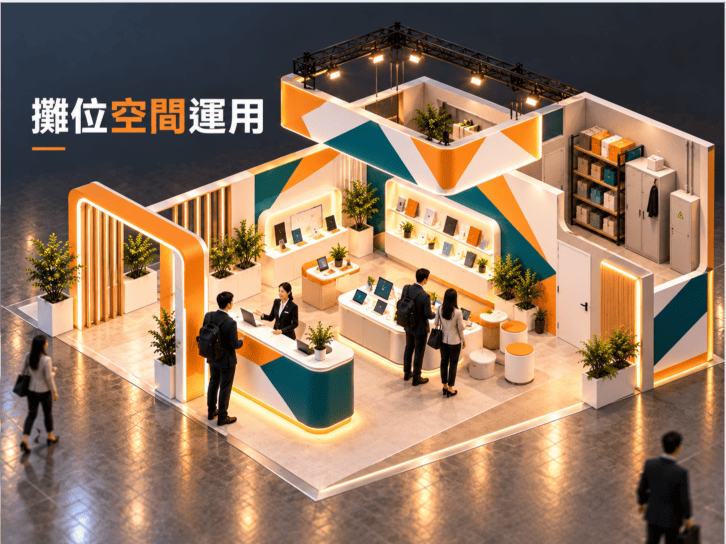
Space planning is about what each area is for. Booth space is limited, so do not judge the design from the front view alone. Assign a clear function to each area:
| Area | Function |
| Front | Attract visitors, show the key visual |
| Sides | Extend the brand, add information |
| Inside | Product display, experience area |
| Counter | Registration, reception, enquiries |
| Storage | Gifts and supplies |
| Upper area | Logo and brand identity |
Beyond the visitor-facing front of house, plan the back of house, which is the part most often forgotten:
- Space for staff to move and rest
- Cables, power sockets and wiring routes
- Storage and restocking points for gifts and supplies
- Space for staff belongings
Many booths discover on move-in day that storage is too small, and boxes end up in plain view of visitors. When reviewing the design, check the floor plan and elevations as well as the 3D render, and confirm what every area is for.
05|Beyond the render: make sure it can be built
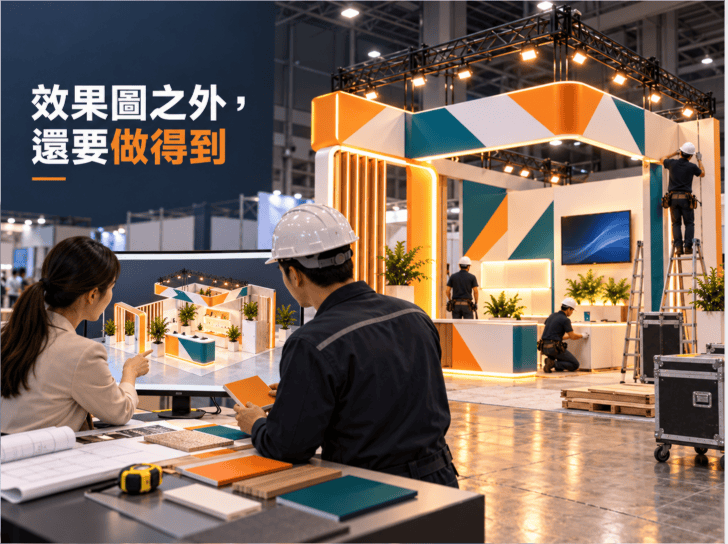
A beautiful 3D design may involve very different materials and structural work once it is actually built. Consider these at the design stage:
- Actual booth size and venue height limits
- Structure and load-bearing
- Materials
- Lighting and power
- Screens or LED walls
- Installation and dismantling
- Transport
It is far better to build production and venue conditions into the design from the start than to make major changes later because of practical limits. It saves time and reduces budget changes, and it is why booth design and booth installation work best with the same team.
06|Venue rules and approvals: confirm them early
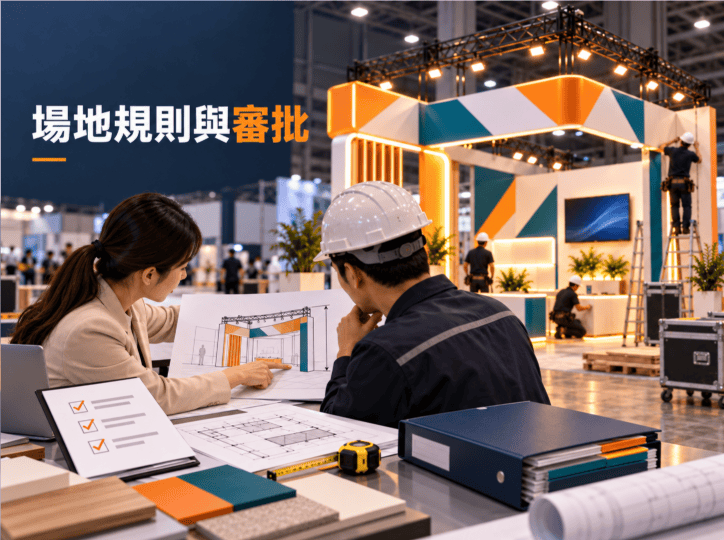
Exhibitions and venues each have their own rules for custom-built booths. Before finalising your design, obtain the exhibitor manual for your fair. As an example, an HKTDC exhibitor manual for a 2026 fair held at the Hong Kong Convention and Exhibition Centre includes these common points:
- Height limits. Since 1 May 2025, single-deck custom-built booths can be up to 4 m, and double-deck booths up to 5 m. Areas near smoke curtains have lower limits (2.5 m or 3 m, depending on location).
- Structural safety certificate. Custom-built booths taller than 2.5 m, or using suspended lighting rigs, need a structural safety certificate from an Authorised Person or Registered Structural Engineer, commonly called an RSE report. For when an RSE report applies and when to submit it, see our exhibition participation guide.
- Submission deadlines. Contractor details, design drawings, a deposit and a copy of public liability insurance must be submitted at least 8 weeks before the exhibition opens, and late submissions incur an administration fee. For exhibitions open to the public, booths 4.5 m or taller must also submit structural stability proof 7 weeks before opening.
- No hanging from the ceiling. Booth components and lighting must not be suspended from the venue’s ceiling structure.
- Electrical works. Electrical works must be done by the official contractor, and electrical drawings must be submitted early.
- Other details. For example, balloons filled with compressed gas are not allowed.
These are the rules of one fair only. Other exhibitions, venues and consumer fairs may have different requirements. Always follow the exhibitor manual and organiser notices for your own event.
07|Interactive booths: design what visitors will do first, then the space
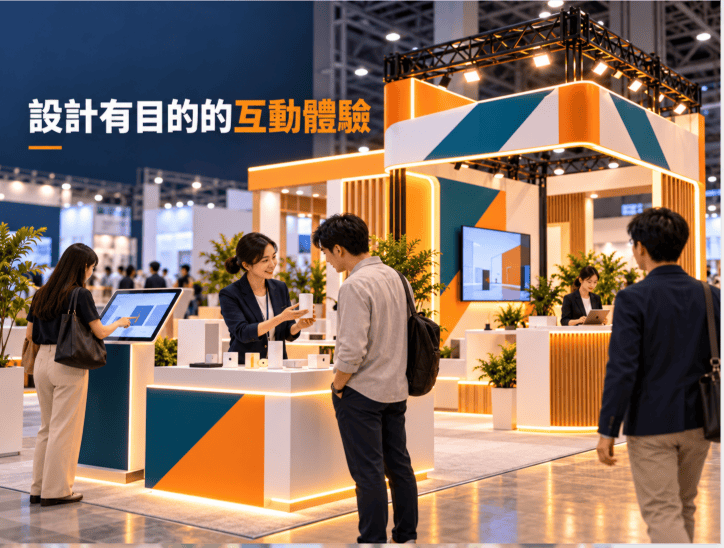
If your booth does more than display, with a mini game, product trial, product demonstration, photo area or interactive screen, you need to design the experience itself. Beyond the flow and the space, follow the visitor journey:
See → Approach → Experience → Engage → Action
Before you design, ask: “What do I want visitors to do in this booth?” Then work out:
- Experience goal. Is it brand awareness, product trial or collecting registrations? Different goals need different activities.
- Activity length. How long each experience takes directly affects queue length and how many people can take part at once. Shorter, simpler activities let more people join.
- Easy-to-understand rules. Visitors have limited time in the aisle. Ideally the activity can be understood in seconds, with a quick demo by a promoter.
- From experience to action. Plan what visitors do next, such as scanning a QR code to register or redeeming a gift, at the design stage.
Also check these rules before finalising an interactive design:
- Registration data. QR-code registration collects personal data, so observe privacy requirements (in Hong Kong, the Personal Data (Privacy) Ordinance).
- Sound and AV. The HKTDC manual sets a 75 dB limit for demonstration activities. Laser products must be applied for early, and playing music requires permission from the relevant copyright bodies.
- Games and prizes. Unapproved trade promotion competitions are not allowed, so confirm any game that offers gifts or prizes with the organiser first.
Pre-sign-off booth design checklist
| Area | What to check |
| Brand | Logo, brand colours, campaign visual, key messages |
| Space | Booth size, height, entrance, exit, storage |
| Experience | Product display, games, activities, registration, gift redemption |
| Operations | Number of promoters, visitor flow, queuing, restocking |
| Production | Materials, lighting, power, screens, installation, dismantling |
| Venue | Venue rules, usable area, move-in and move-out requirements |
Further reading: Hong Kong Exhibition Participation Guide 2026: Booth Selection, Budget, Government Funding and Essential Tips covers pre-show preparation, standard vs raw space booths, budgeting, RSE reports and post-show follow-up, so you can see the whole exhibition process in one article.
Flyer King: from booth idea to on-site execution
Booth design should not stop at the render. From event concept and space planning to visual design, production, installation, promoters and on-site management, every step shapes the final visitor experience.
Flyer King can help brands turn a design into a working booth through this process:
Event concept → Booth planning → Visual design → 3D render → Production → Installation → Event execution → Dismantling
Have a booth idea but not sure how to turn it into a real event space? Let us support you from start to finish|Contact Flyer King ›